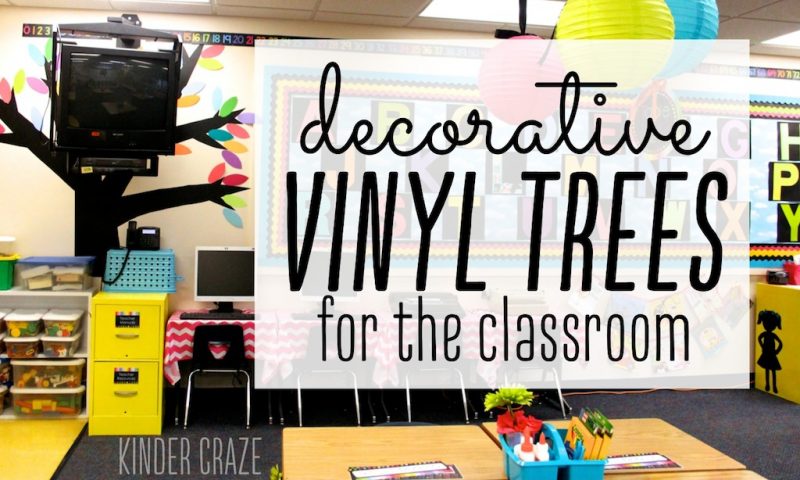
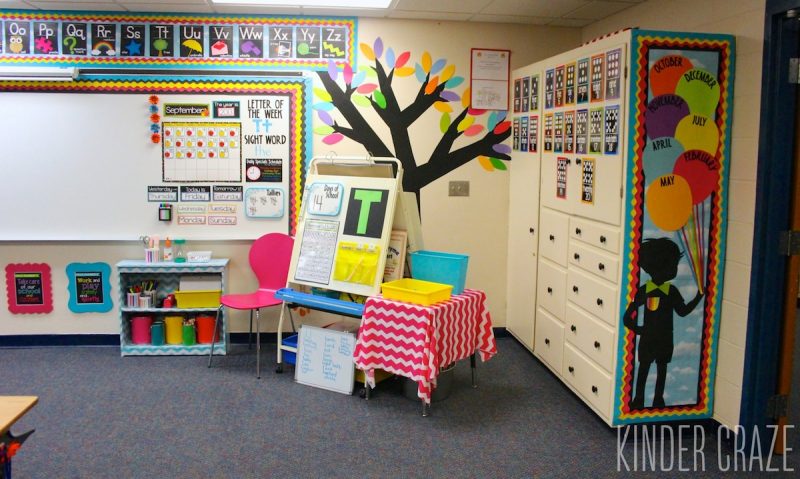
It’s mid-July and teachers are beginning to dream, shop and set up for their classroom setup. After reading about my kindergarten classroom, countless readers have requested more information on how I created the black trees that are displayed on my classroom walls. Today I am happy to answer all of your most-common questions and share a video tutorial to guide you through the process!

What Are the Trees Made Of?
The trees are not made of paper and they are not painted onto the walls. Rather, they are constructed out of vinyl. You can purchase sheets of black vinyl online, but mine came from Jo-Ann. I prefer to purchase them from Jo-Ann simply because they sheets are not sold in rolls. Jo-Ann lays them flat on a rack and the unrolled vinyl is much easier to work with when it’s not trying to curl up on you.
Why Vinyl?
I knew I wanted to add trees to my classroom walls, and I carefully debated the best decorative way to add them to my walls. Paint was out of the question. My principal allows me to do many things in my classroom, but asking to paint giant black trees on my wall would have been asking for too much! I also considered paper, but I didn’t want to risk having the paper fall down mid-year. Most of the walls are cinder block and while I have a pretty high success rate with creations sticking to my wall, I didn’t want to risk having giant trees fall off the wall mid-year. Vinyl was a natural choice for a long-lasting, non-permanent solution. It also would completely adhere to the wall and lay flat, unlike paper which would only stick in the places that had adhesive attached. The result was a smooth, polished look that everybody thought was paint!

Did I Use a Stencil Or a Template?
Not really! I constructed the trees as I went, beginning with the trunk. The sheets of vinyl I used were 12×18″ and they were the perfect size for constructing the trunk. The trees in my classroom used 2-3 sheets of vinyl for the trunk. From there, I created triangular offshoots from the trunk to be the branches of the tree, and smaller triangles were attached as twigs on each branch. There is no perfect method and I made plenty of mistakes along the way. Each time I placed a section of vinyl that I didn’t like, I simply peeled it off and moved the piece to a different area of the tree. The vinyl is very forgiving of mistakes and I often put several small pieces together to build a larger section.

DIY Tree Video Tutorial
I have two videos to share with you. This first video is a time-lapse without sound that lets you see the construction of a vinyl tree from start to finish.
If you saw the time-lapse video and want to know more, this video is narrated to take you through the process from start to finish, including how I add leaves to the completed tree.
Learn More About my Kindergarten Classroom
If you love the vinyl trees and want to see more of my classroom, take a tour in this blog post.
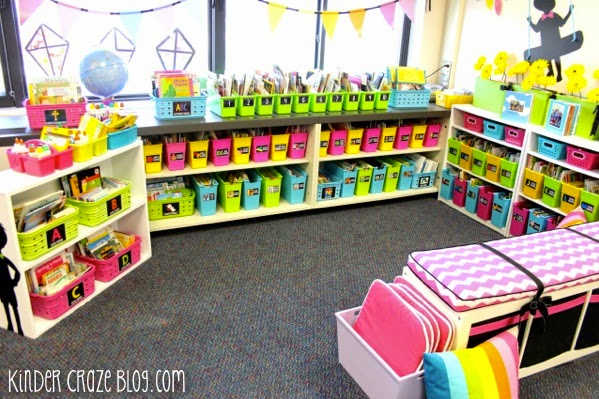
Organize your library like a pro! This blog post shows you exactly how I set up the library in my kindergarten classroom.
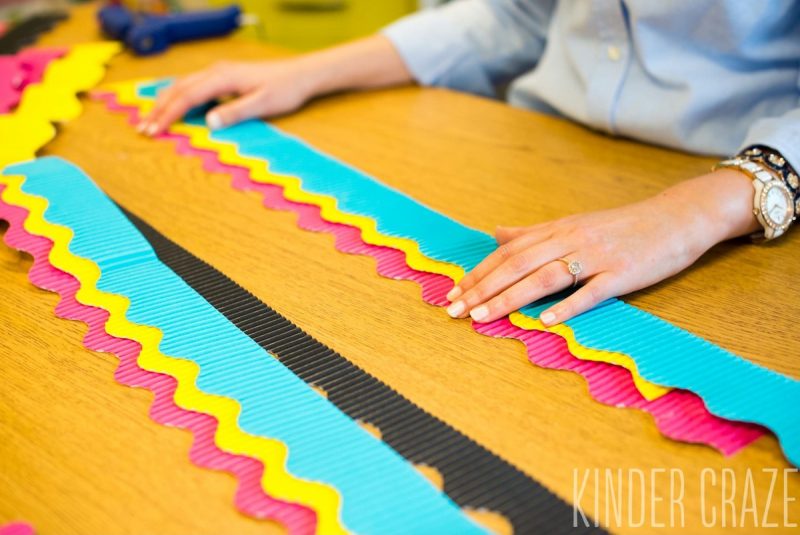
Add multiple layers of border to your bulletin boards with ease, thanks to this tutorial.
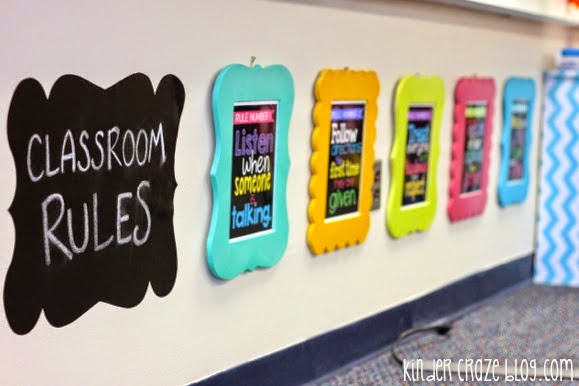
Learn how to recreate my classroom rules.
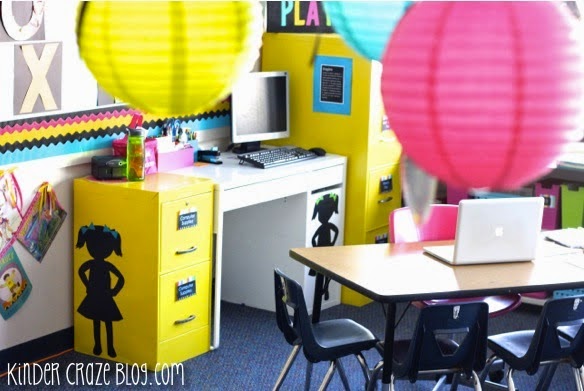
And learn everything you wanted to know about the silhouettes of children on my walls and those bright yellow file cabinets.
I hope you are enjoying every moment of your summer vacation. We will all be back in school before we know it!
The post Video Tutorial: Decorative Vinyl Trees for the Classroom appeared first on Kinder Craze.
